


10 Patio Design Ideas That Improve Outdoor Living Space
Patio design works best when it is treated as part of a full garden build, not as an isolated paved patch. Natures Canvas Landscaping, a Berkshire landscaping and garden design company, sees this in practice because levels, drainage, circulation and seating all need solving before the first slab is laid.
TL;DR: Summary
The best patio design ideas improve outdoor living when the patio is planned as an outdoor room with layout, drainage, privacy and access resolved from the start; Natures Canvas Landscaping approaches this as part of the wider garden build.
GOV.UK guidance links private outdoor space, including a patio or terrace, with health and wellbeing, while Healthy Homes guidance sets a minimum private outdoor-space area of 5 square metres for homes with 1 to 2 bedspaces.
The strongest patio layouts usually include defined dining or lounge zones, easy movement from the house, and hard landscaping that works with the rest of the garden rather than competing with it.
Drainage is not optional: the RHS warns non-porous hard landscaping can increase rainwater run-off by as much as 50 percent, so site levels, falls and permeable paving matter early.
Demand is moving towards patios as true outdoor living spaces: the AIA reported rising popularity for outdoor living spaces (73%) and blended indoor/outdoor spaces (59%).
That wider view matters because a patio is often the most-used part of a garden. If it supports dining, relaxing, privacy and year-round movement, it becomes useful daily rather than decorative occasionally.
Why does patio design matter for outdoor living?
Patio design matters because a patio is private outdoor space, not just paving. GOV.UK and the RHS both frame outdoor access, hard landscaping and layout as practical parts of wellbeing and garden performance.
Recent UK housing and health guidance is clear that access to private outdoor space can support mood, relaxation, social interaction, sleep quality and connection with nature. A patio often delivers that access most directly because it sits closest to the home and carries the heaviest day-to-day use.
The design question, then, is not simply what stone to choose. It is how the patio will work for breakfast outside, evening seating, step-free access, children moving through the garden, and sightlines from the kitchen or living room. A good patio makes the whole garden easier to use.
The wider market is moving in the same direction. The American Institute of Architects reported increased popularity for outdoor living spaces and blended indoor/outdoor spaces, which fits the idea of the patio as an outdoor room rather than a leftover surface.
How should you plan a patio layout step by step?
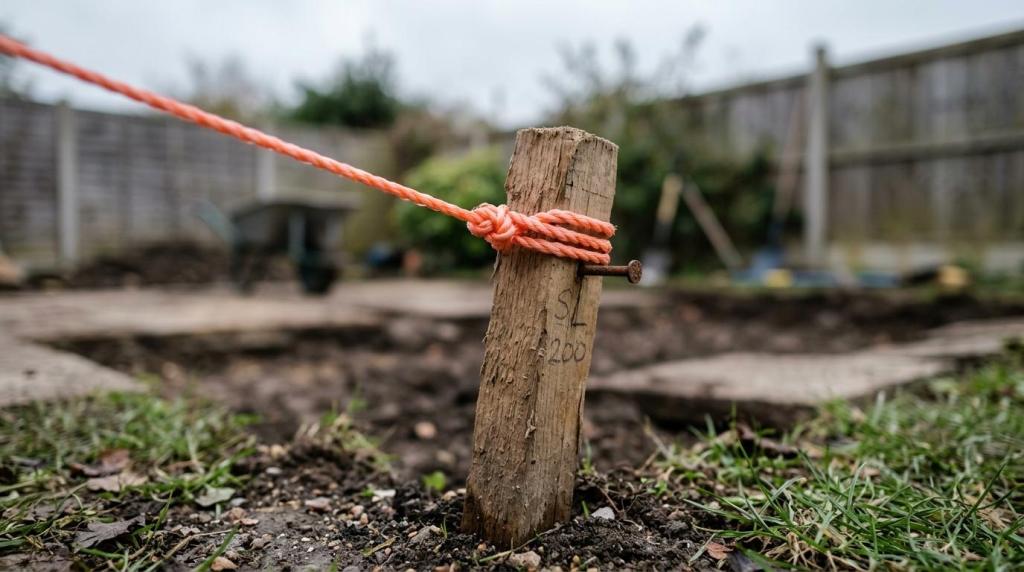
Start with use, circulation and levels. Natures Canvas Landscaping treats the first layout stage as a buildable design problem, because dining, seating, entertaining and day-to-day outdoor living all place different demands on shape and size.
Step 1 is to define the main use before discussing paving patterns. A dining terrace needs table clearance and routes around chairs. A lounge patio needs deeper furniture footprints and a focal point. A family space may need a direct path to lawn, storage or a garden room. One common mistake is choosing a patio size by eye, then trying to force furniture into it later.
A practical layout becomes easier to price and build when the rough idea is turned into a plan with real dimensions, thresholds and construction logic.
"Natures Canvas Landscaping turns a rough patio idea into a buildable plan, then prices the real scope of work."
Step 2 is circulation. People rarely move in straight showroom lines. They carry trays, open doors, turn with chairs and cut corners. If the route from house to patio pinches at a step or against a wall, the whole design feels cramped even if the square metre count looks generous.
Step 3 is to test the patio against the whole garden. The RHS regularly pushes the idea of tackling hard landscaping first and planning the project as a whole. That approach helps you decide whether the patio is the main terrace, one stop in a larger sequence, or the anchor point for a bigger design-and-build project.
What are the 10 patio design ideas that improve outdoor living space?
The strongest patio ideas improve use before they improve appearance. If a design supports eating, shelter, movement, privacy and seasonal comfort, it usually looks better as well because every feature has a clear job.
Create two zones, not one large blank slab
Keep the main terrace level with the house where possible
Add a partial cover, pergola or overhead structure
Build in seating with low walls or raised planters
Use large-format paving for a calmer visual field
Introduce a secondary seating spot deeper in the garden
Plan lighting into edges, steps and key routes
Use planting pockets to soften hard landscaping
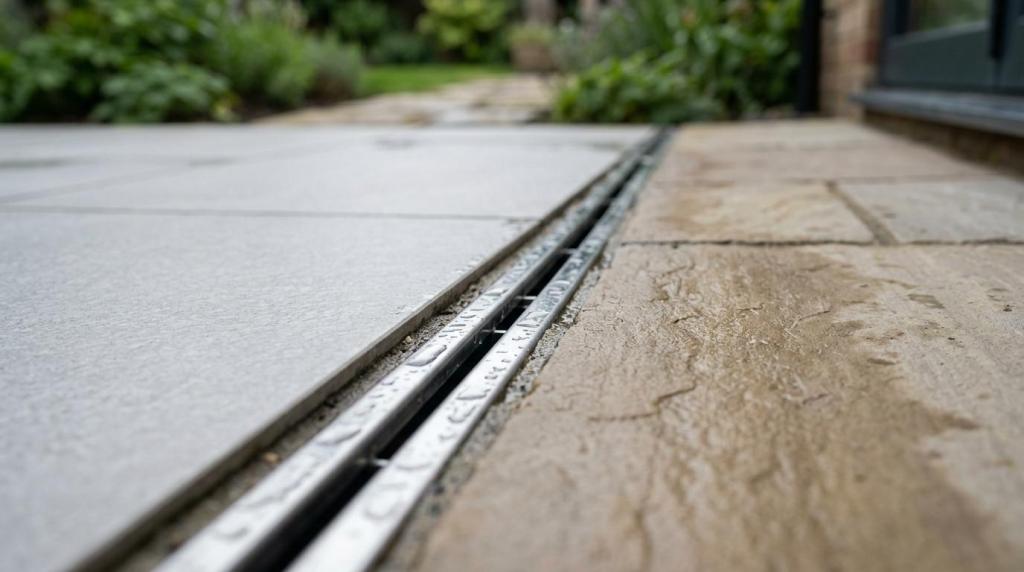
Include drainage channels or permeable details discreetly
Link the patio to a garden room, outdoor kitchen or feature path
These ideas work because they turn a patio into a sequence of uses. The most successful schemes balance open space with definition, so the terrace feels generous but not exposed.
Should a patio sit next to the house or elsewhere in the garden?
A house-adjacent patio is usually best for daily use, while a secondary terrace deeper in the garden can add privacy and sun at different times of day. The right answer depends on access, orientation and how many outdoor functions you want.
A patio beside the house is the easiest to use for meals, children, entertaining and carrying items outdoors. It also supports the blended indoor/outdoor effect that many homeowners want. If the doors open straight onto a generous, well-proportioned terrace, the garden feels larger immediately.
A deeper patio has different strengths. It can catch late sun, create separation from the house and offer a quieter retreat. It may also suit a fire pit, reading area or garden room. The trade-off is convenience. If you must cross damp grass to use it for everyday dining, it quickly becomes occasional space rather than core space.
A useful rule is to choose one primary patio for everyday living, then add a secondary hard-landscaped spot only if the site genuinely benefits from it. Bigger is not always better. Better located is usually better used.
Which patio materials work best for style, drainage and maintenance?
No single material is best in every garden. Porcelain, natural stone and concrete paving each suit different levels of formality, drainage strategy, slip resistance and budget.
Material choice should follow the design brief. A contemporary garden often suits large-format porcelain or sawn stone because clean edges support a disciplined layout. A softer or more traditional setting may benefit from sandstone, clay pavers or mixed textures. What matters is how the surface performs in UK weather, how it is detailed at edges and whether it works with drainage.
The drainage point is easy to miss. The RHS warns that non-porous hard landscaping can increase rainwater run-off by as much as 50 percent. That does not mean you must avoid non-porous paving entirely, but it does mean the surface, joints, falls and water management plan need to work together.
Porcelain: crisp appearance, low porosity, precise detailing, but drainage planning must be exact
Natural stone: character and tonal variation, strong for premium builds, but quality and consistency vary by stone type
Concrete paving: broad price range and many formats, but cheaper products can weather unevenly
Permeable paving: better for rainwater management, especially where run-off is a concern, though the visual style is more specific
A common misconception is that material choice is mainly cosmetic. In reality, surface finish, jointing, sub-base and drainage details often matter more to long-term performance than colour alone.
How do drainage and site levels shape a patio design step by step?
Drainage and levels decide whether a patio stays dry, stable and safe. Falls, thresholds and sub-base design should be fixed before slab choice, not after.
Step 1 is to read the site properly. You need to know the relationship between internal floor level, door threshold, lawn, retaining elements and any neighbouring boundaries. If the patio sits too high, you risk water against the house. If it sits too low, it can feel sunken and awkward.
Step 2 is to choose how water will move. That may include subtle surface falls, permeable paving, gravel margins or channel drains. If the site already struggles with standing water, then the design must reduce pressure on that problem rather than cover it with impermeable paving.
Step 3 is to build the structure to match the drainage plan. Sub-base depth, compaction and edge restraint are what keep the finish stable over time. A patio can look excellent on completion day and still fail early if the water route was never properly resolved.
This is why site levels are not a technical footnote. They shape the finished look, the door connection, the number of steps, the retaining work and the paving pattern itself.
How can you add privacy without making a patio feel enclosed?
Privacy works best when it is layered. Screens, planting, level changes and overhead structures often feel better than one tall boundary solution.
The aim is to interrupt sightlines rather than block everything. A slatted screen near a seating corner, a raised bed on the neighbour-facing side, or a pergola with filtered cover can all create comfort without making the terrace dark. If the garden is overlooked from upstairs windows, then a roofless patio may still need a sense of enclosure through vertical elements.
Soft landscaping helps here, but it should support the hard layout rather than lead it. One frequent mistake is leaving privacy until the end and hoping a few shrubs will solve an exposed terrace. If privacy is a core requirement, it should influence the patio’s position, orientation and adjacent structures from the start.
When should lighting, steps and edges be designed into the build?
Lighting, steps and edges should be designed before construction begins. They affect wiring routes, drainage falls, slab cuts and safe movement, so they cannot be treated as late add-ons.
Step 1 is to identify how the patio will be used after dark. Dining areas need a different lighting mood from access routes or steps. If cables or power supplies are needed, they are much easier to integrate before the sub-base and finished surfaces go in.
Step 2 is to resolve vertical transitions. Even a small change in level can feel awkward if step widths, landings and edge treatments are improvised. If a threshold is tight, then one well-sized step is usually better than several shallow, uncertain level changes.
Step 3 is to define the perimeter. Clean edges make patios look intentional and help separate paving from beds, gravel or lawn. This is also where the visual language of the garden becomes clearer, whether that means formal straight lines or softer geometry.
A useful tip is to think about night-time movement as early as daytime seating. Many patios look complete in sunshine yet feel unsafe or unfinished once the light drops.
How does a patio fit into a full garden build or garden room project?
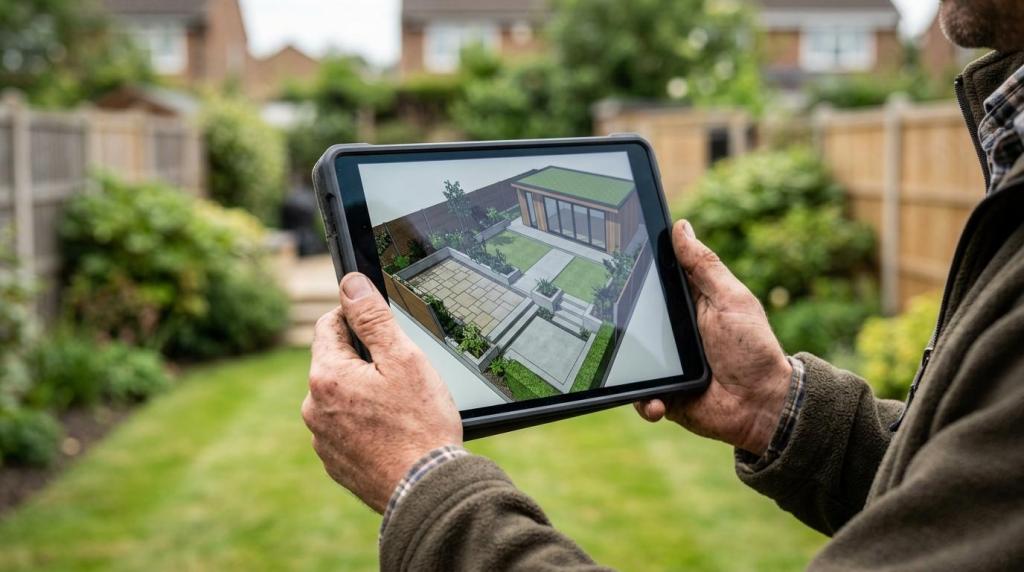
A patio works best when it anchors the wider garden build. Natures Canvas Landscaping uses in-house 3D garden design to test how terraces, routes and garden rooms relate before construction starts.
A patio becomes more valuable when it is coordinated with paths, retaining work, focal planting, lawn levels and any built structure beyond the house. That is especially true where a garden room is involved. The terrace may become the transition space between home and garden room, or the shared forecourt that serves both.
"Natures Canvas Landscaping uses in-house 3D garden design to test patio links, circulation and garden room placement before construction."
This whole-project approach avoids a common problem: a well-finished patio that feels detached from the rest of the garden because later additions were never planned into the original geometry. When the patio, path network and garden room are designed together, the result feels calmer, more deliberate and easier to use.
What mistakes make patio design look good on paper but fail in use?
Most failed patio designs suffer from one of three issues: poor proportion, unresolved drainage or weak connection to the rest of the garden. The finish may look smart, but the space does not support real daily use.
The warning signs usually appear early in the brief. A terrace may be undersized for furniture, oversized for the plot, too exposed for comfort, or disconnected from key routes. Another problem is copying a style image without checking orientation, privacy or fall across the site.
After the initial design review, it helps to test the scheme against a few hard questions.
Too small for the furniture footprint
No clear route from doors to seating
Flat surface with no visible drainage logic
Materials chosen before levels are solved
Patio designed without reference to the wider garden build
A final misconception is that patio design is mostly about taste. Taste matters, but performance decides whether the space earns daily use. If the layout fits movement, the drainage works, and the patio belongs to the full garden composition, outdoor living improves in a way that is both visible and practical.
Comments