


Hard Landscaping or Soft Landscaping? When You Need Both
Choosing between hard landscaping and soft landscaping is usually the wrong starting point. Natures Canvas Landscaping, a Berkshire design-and-build landscaping company, sees this question most often when homeowners are planning a patio, driveway, terraced garden or garden room and want the finished space to look right and work properly in all seasons.
TL;DR: Summary
Hard landscaping or soft landscaping is not usually an either-or decision; the best gardens use both, with hard landscaping creating structure and soft landscaping improving drainage, comfort, biodiversity and visual balance.
Hard landscaping works best when drainage, levels and planting are planned from the start, not added later as separate jobs.
GOV.UK guidance links hard surfacing over 5 square metres in domestic front gardens to permeability, and non-permeable surfacing may need planning permission.
RHS guidance treats garden design as a whole-project exercise, which fits how Natures Canvas Landscaping approaches full garden build work, 3D design and construction planning.
If your site has slope, muddy access, a new patio, parking needs, or a garden room, you will usually need a coordinated mix of paving, drainage and planting.
The key decision is not which type of landscaping is better in the abstract. It is which mix of built elements, levels, drainage and planting suits the way you want to use the garden, the character of the plot, and the practical limits set by runoff, topography and planning conditions.
What is hard landscaping and what is soft landscaping?
Hard landscaping is the built structure of a garden, while soft landscaping is the living layer. Patios, retaining walls, steps, driveways and paths shape movement and use; lawns, trees, shrubs and borders soften the scheme, absorb water and change through the seasons.
A simple way to think about it is this: hard landscaping creates the framework, and soft landscaping makes that framework feel settled, comfortable and alive. Hard elements often include paving, walling, edging, raised beds, drainage channels, pergolas, fencing, decking and the base or approach to a garden room. Soft landscaping usually covers soil preparation, turf, hedging, trees, shrubs, climbers and perennial planting.
One common misconception is that soft landscaping is just decoration. It is not. Planting can help manage water, screen views, cool hot paved areas, support wildlife and make large built spaces feel proportionate.
How do hard and soft landscaping work together in a good garden design?
They work best as one design problem, not two separate purchases. The RHS treats garden planning as a whole-project exercise because layout, built features and planting affect each other from day one.
If you place a patio without thinking about sun, views, privacy and drainage, the planting options become narrower and the space can feel exposed. If you design planting without solving access, level changes and routes, the garden may look attractive but remain awkward to use in winter or after heavy rain.
A useful rule is to decide the movement pattern first, then the water pattern, then the planting pattern. That means asking where people walk, where rainwater goes, and where structure, shade and softness are needed. On a sloping plot, this often leads to steps, retaining walls and level changes being designed alongside border depth and shrub placement, not after the build is done.
"Natures Canvas Landscaping treats hard landscaping as the garden’s framework, which is why layout, levels and drainage need resolving before planting or paving choices are finalised."
What are the signs that your garden needs both hard and soft landscaping?
Most problem gardens need both. If the garden has drainage issues, difficult levels or poor usability, built work and planting usually need to be solved together.
Typical signs include:
A sloping garden: you may need retaining walls, steps or terraces, plus planting to soften level changes and stabilise the look.
Waterlogging or muddy routes: permeable paving, drainage detailing or a soakaway can work with rain garden planting to reduce surface runoff.
A new patio or entertaining zone: the hard surface provides useable space, while planting adds enclosure, shade and seasonal character.
A front garden used for parking: you need lawful, practical surfacing and enough green structure to avoid a harsh, flood-prone finish.
An overbuilt garden: too much paving can increase heat and runoff, so borders, trees or screening may be needed to restore balance.
A beautiful but impractical planted garden: if access is poor and surfaces are unstable, hard landscaping is needed to make the space useable year-round.
A garden room project: the building may be the headline feature, but access, thresholds, drainage and surrounding planting decide whether it feels integrated.
If one of those issues is present, the answer is rarely “just add paving” or “just add plants”. It is usually a coordinated redesign.
How should you plan hard landscaping step by step before any paving starts?
Natures Canvas Landscaping approaches this best as a design sequence, not a paving order form. The first decisions should cover use, levels, drainage routes and material performance, with visual choices coming after the practical framework is set.
Start by listing how the garden needs to function. That can mean dining near the house, a direct route to a garden room, safer access on a slope, screened seating, bin storage, bike storage or a front parking bay. If a space has more than one use, then zoning matters more than square metre count.
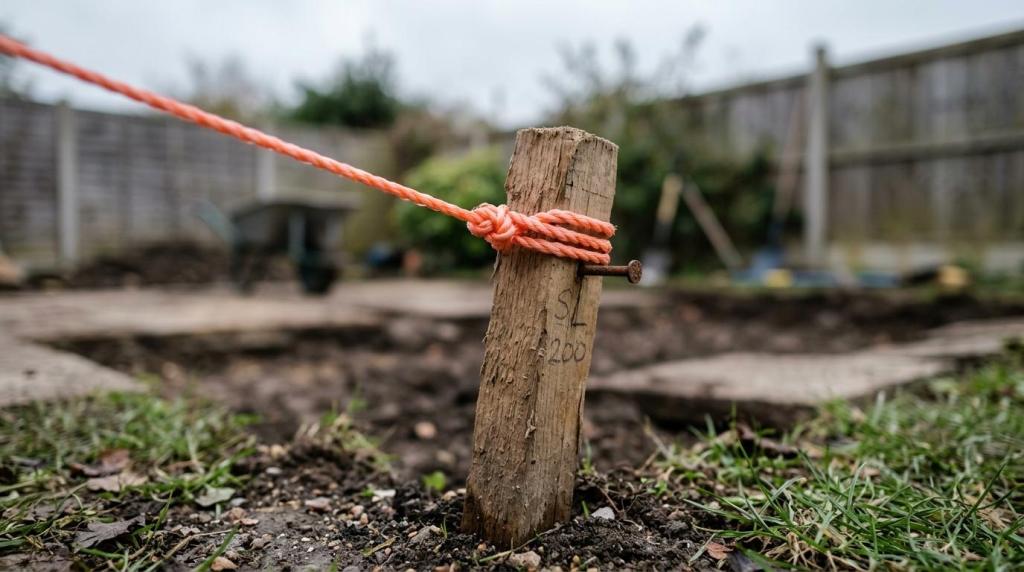
Next, survey the fixed conditions. Measure the thresholds at the house, note any manhole covers, inspect existing falls, look at topography and work out where water already collects. The RHS makes a useful point here: it is much easier to change a design on paper than in situ. That matters even more when steps, retaining structures or large paved areas are involved.
Then choose materials based on performance before colour. A driveway surface handles different loads from a rear terrace. Steps need attention to rise, tread and slip resistance. Retaining walls need engineering logic, not just a finish that looks attractive online. A common mistake is choosing a paving product first, then forcing the rest of the scheme to fit it.
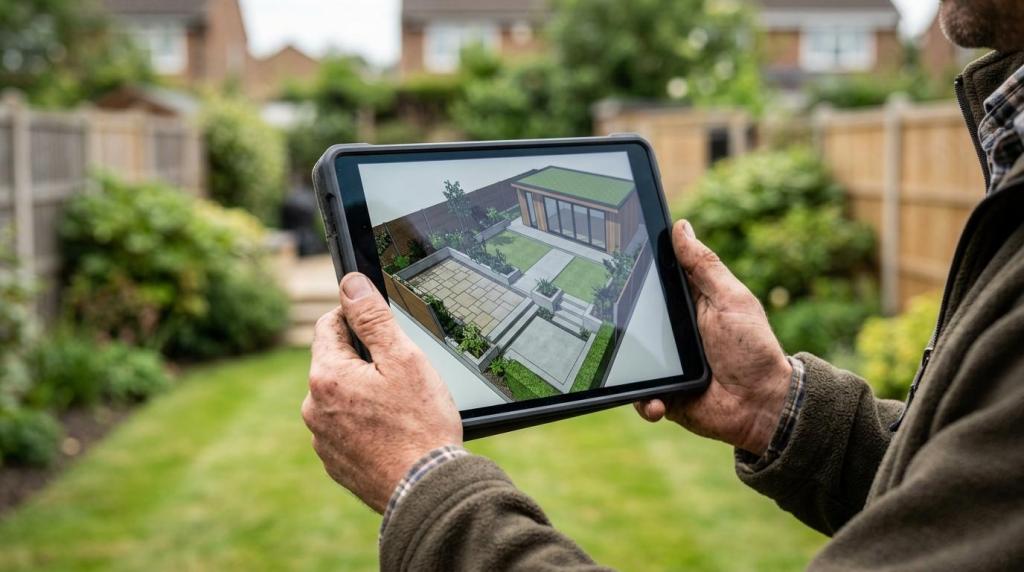
"With 18 years of experience and in-house 3D garden design, Natures Canvas Landscaping can resolve layout and construction questions before the full garden build starts."
How should drainage and permeability be designed step by step?
Drainage should be designed before the surface finish is fixed. GOV.UK guidance and SuDS standards both point to the same principle: reduce runoff at source and make the surface work with the land, not against it.
First, check whether the project affects a domestic front garden with more than 5 square metres of hard surfacing. GOV.UK states that, from 1 October 2008, this is generally permitted development only where the surface is rendered permeable or rainwater drains to a permeable area within the property. If traditional impermeable concrete or similar surfacing sends water to the highway or drains, planning permission may be needed.
Second, trace the water route. That means setting falls away from buildings, identifying infiltration potential, and deciding whether water should pass through the surface, into a sub-base, towards a soakaway, or into a planted rain garden. If the site is on heavy clay, then a soakaway may not be the answer on its own. If levels are tight near the house, then threshold design becomes as important as the paving choice.
Third, match the drainage strategy to the build-up below the surface. A permeable finish only works properly if the bedding layer and sub-base are designed for permeability too. That is the misconception to avoid: permeability is not just a gap between blocks. The whole section matters.
Government SuDS standards add another layer by linking surface design to topography, existing flow routes, landscape character, vegetation and flood-risk reduction. That is why drainage should never be treated as a hidden technical afterthought.
How should planting be integrated step by step after the layout is fixed?
Planting should respond to the hard layout, not fill leftovers. Once access, levels and drainage are set, planting can turn a functional build into a coherent garden.
Begin with the structural jobs that planting needs to do. That might be screening a boundary, framing a view from the house, cooling a south-facing seating area, softening retaining walls, or catching runoff in a rain garden edge. If a planting area has no role beyond “adding colour”, it often ends up too shallow or too fragmented to thrive.
Then match plant choices to the conditions created by the hardscape. Large paved surfaces reflect heat, dry the soil edge faster and alter wind patterns. Raised planters drain differently from open borders. Areas near permeable paving may hold or shed moisture in ways that affect root health. If a space stays wet, choose plants that tolerate those conditions. If it bakes in full sun, choose species that can cope with reflected heat.
Finally, protect the growing medium. Good planting fails quickly in poor soil or compacted ground. A common mistake is spending heavily on stone and lighting, then leaving minimal depth for root zones and soil improvement. The visible result may look finished at handover but feel thin after the first full growing season.
The SuDS standards are useful here too. Where water is kept at or close to the ground surface, vegetation, including trees where reasonably practicable, helps with shade and heat reduction as well as appearance.
Hard landscaping or soft landscaping: which should come first?
Design should happen together, but construction usually starts with the hard landscaping. Built work disturbs the ground, so it is usually wiser to finish excavation, drainage, walling and surfacing before final planting begins.
This is where people often mix up design sequence and build sequence. In the design stage, hard and soft landscaping should be considered at the same time. In the construction stage, the hard elements usually come first because they set levels, edges, routes and access.
There are exceptions. If the garden contains mature trees that are staying, root protection may limit machinery routes and excavation depth. If a planted area controls a key view or screening issue, it may need protecting early even if it is planted later. If then logic helps here: if the build can damage it, protect it before works start; if the build defines it, construct first and plant after.
Permeable paving or conventional paving: what is the better choice?
Permeable paving is often the better choice for UK front gardens and runoff-prone sites, but it is not automatically right for every area. The correct answer depends on use, soil, levels, drainage destination and planning constraints.
GOV.UK guidance on domestic front gardens makes permeability especially important where surfacing exceeds 5 square metres. The RHS also warns that paving over gardens has been a major factor in severe flooding, while balanced planting can help soak up intense summer rain. That does not mean every rear terrace must be fully permeable, but it does mean impermeable paving needs a lawful and well-designed drainage route.
Trade-offs are clearer when set out directly:
Permeable block paving: allows infiltration through the surface to the sub-base; often a strong fit for driveways and front gardens.
Gravel: highly permeable and cost-aware; less suitable where firm access is needed for wheelchairs, prams or regular furniture movement.
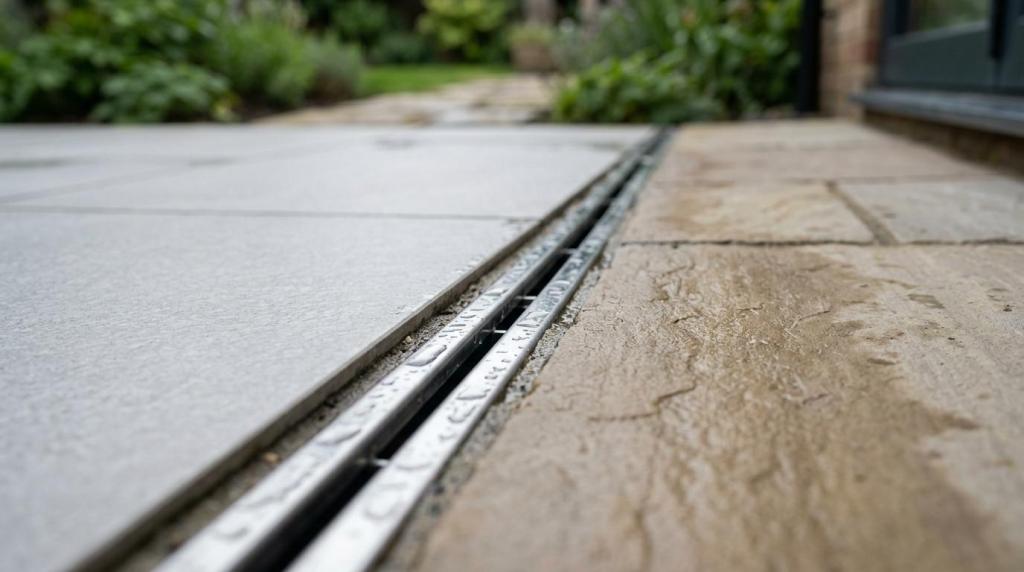
Impermeable porcelain or concrete paving: can give a crisp, durable finish; needs correct falls and a drainage strategy that does not simply dump water into public drains.
Rain garden edges or planted swales: not a surface finish, but often the missing part that makes a hard landscape drain properly.
A practical tip is to judge the whole water system, not just the slab or block itself. A beautiful surface with poor sub-base design can still create ponding, splashback and saturated borders.
When is a full design-and-build approach better than adding features one by one?
Natures Canvas Landscaping is most relevant when the garden needs a joined-up design-and-build solution rather than isolated upgrades. That is usually true when levels, drainage, paving, planting and a garden room or driveway all affect each other.
A piecemeal approach can work for small, contained changes. Replacing one path, refreshing a border edge or rebuilding a short step run may not require a full redesign. The trade-off changes when the project includes multiple zones, major level changes, front-to-back circulation or a new structure in the garden.
If you install a patio first, then add drainage later, then try to fit planting around the leftovers, costs often rise and detailing often gets weaker. You can end up lifting finished surfaces, changing falls, or accepting awkward border widths simply because the order was wrong. The same risk appears when a garden room is treated as a standalone purchase without planning its access path, lighting routes, threshold heights, screening and drainage context.
The benefit of a full design-and-build method is not just convenience. It is technical consistency. Materials can be selected to suit the same scheme, drainage can be integrated with planting, and the view from the house can be considered at the same time as groundworks and construction. If the plot is complex, that joined-up approach usually gives a better result than trying to solve one symptom at a time.
Comments